
Yes, it’s a mouthful both in title AND in flavor. This recipe combines the best elements of three flavors: brown butter, salted caramel and chocolate chips into one decadent cookie bar. Scoop into rounds and bake as cookies for easy grab-and-go delight!
Note: If you buy something using links in this post, we may receive a small commission. This helps support Edible Ink in our quest to bring you high-quality free recipes and foodie travel tips.
A better way to say Brown Butter Salted Caramel Chocolate Cookie Bar
We can agree on one thing surely — that calling these “Brown Butter Salted Caramel Chocolate Cookie Bars”, while accurate, is entirely too long and complicated to say (and type) repeatedly. In my quest to find an adequate name for this sweet-salty creation, I turned to my Italian roots.
I thought, “I wonder how you say ‘caramel’ in Italian?” The answer is indeed what you think it is: Carmello. Simple, sweet and to the point. Surely to simply call this heavenly dessert a Carmello was an understatement. After all, focusing only on the caramel neglects the nutty goodness of the brown butter, the powerful punch of flaky salt and the bitter sweetness of the chocolate chips. And so I added ‘Royale’ to the name since these cookies indeed feel fit for royalty.
Whatever you decide to call them in your household (yes, making up names is thoroughly encouraged here) I hope these cookies bring you joy to make, to eat, and most importantly to share with loved ones.
The Three Elements
These cookies came about as an attempt to combine my husbands favorite cookie flavors into one massive dessert. The three main components of Carmello Royale are:
- Brown Butter
- Salted Caramel
- Chocolate Chips
Let’s break each of them down.
Brown Butter
The nutty, powerful elevation of regular butter, brown butter is achieved more easily than some may think.
Add your butter to a pan over medium heat on the stove. Watch it closely. When you see foam forming, start whisking and don’t stop. Turn down the heat if necessary, as the butter is browned best with a little patience and a slow steady heat. For a full breakdown on how to make brown butter, keep reading below.
Salted Caramel
When developing this recipe, I wanted to make the addition of the caramel as simple as possible. There is no shortcut to quality browned butter, and I figured after that, no one (including me) would want to make a caramel from scratch — a notably more finicky process than simply browning butter.
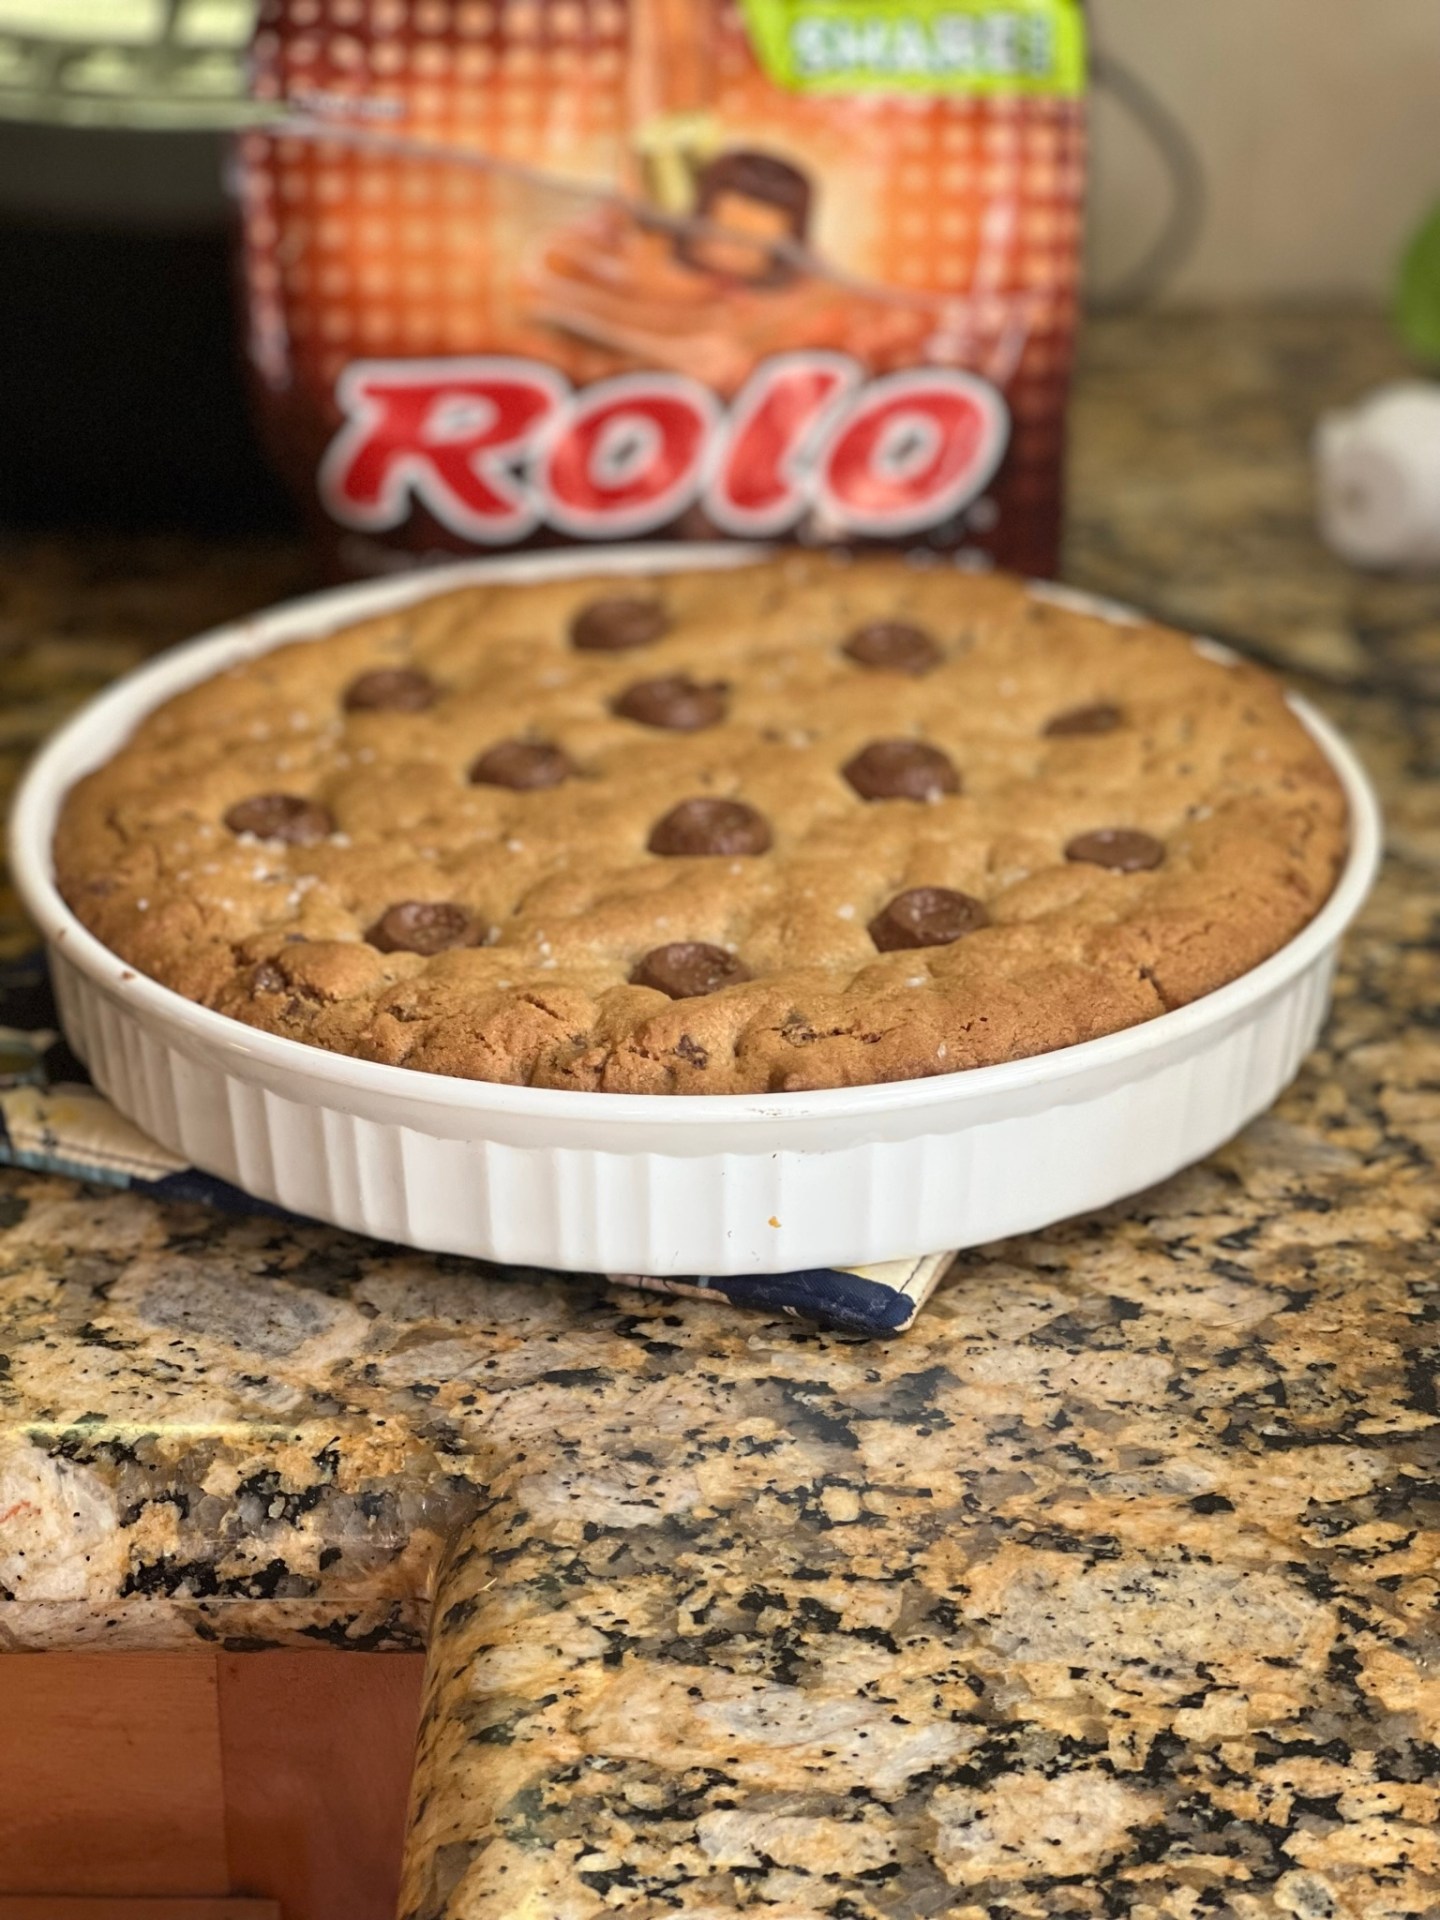
I turned to the candy aisle for my ready-made caramel solution. Hard candies wouldn’t do, as they’d turn brittle after melting in the oven and solidifying again while the cookie bar cooled. So I grabbed (to his delight) one of my husbands favorite candies: the almighty Rolo, a chewy caramel center enveloped in milk chocolate. This bite-size candy incorporated two elements of the cookie bar in one premade package.
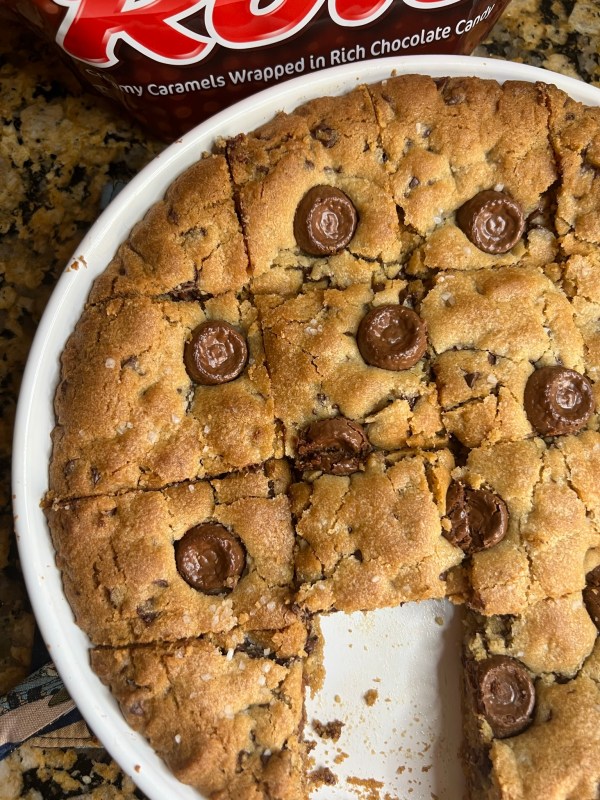
And no, this recipe is not sponsored by Rolo (though I’d be open to it! *hint hint*). The addition of Rolos in the cookie bar are simple. Unwrap the candy and place them freely across the top of the cookie bars before baking.
To balance out these sweet candies, and incorporate the “salt” aspect of the salted caramel, I finish with a generous sprinkling of flaky sea salt. And yes, it must be FLAKY, as regular table salt would not give the satisfying crunch and adequate dispersal of salt throughout the chocolate bars. Flaky sea salt can be purchased at any grocery store, but if you are feeling extra fancy, go for the top-of-the-line Maldon sea salt.

Chocolate Chips
Feeling the chocolate shell of the Rolos not enough chocolate for a truly chocolate cookie bar, I’ve added a generous amount of bittersweet chocolate chips to this recipe. However, I encourage you to use whichever chocolate chips suit your fancy.
Though be warned, they will change the flavor balance of the recipe, especially if you use white chocolate chips. I recommend balancing the obscene sweetness of white chocolate with a handful of dark chocolate chips just to be safe.
How to Make Brown Butter
You’ll start to see the milk solids separate from the butter. The milk solids will become the delicious brown bits we know as brown butter. For this process to happen, they first need to separate from the butter, then brown. At first they’ll just look like small white bits, and overtime will release that nutty, almost almond-like aroma signature to brown butter. Once you start to see the milk solids separate, keep whisking. In order to keep an eye on them through the foam, movement is necessary. More importantly, it keeps the milk solids moving and helps prevent burning.
Once the butter (more specifically, the solids) have obtained a dark brown, chestnut color, remove the butter from the pan immediately and place into a heat safe dish (I prefer glass), being sure to scrape the pan to preserve every bit of nutty goodness. Stick this dish uncovered into the fridge to cool the butter down and stop the cooking process. Viola! You’ve just made brown butter.
The Science of Brown Butter
As mentioned above, the process of browning butter essentially serves to separate the milk solids from the fat of the butter, which are then browned with heat, changing the flavor. This process is a scientific reaction called the Maillard reaction.
In technical terms, the Maillard reaction, “is a chemical reaction between an amino acid and a reducing sugar, usually requiring the addition of heat. Like caramelization, it is a form of non-enzymatic browning.”
Read more about this process at The Science of Cooking.
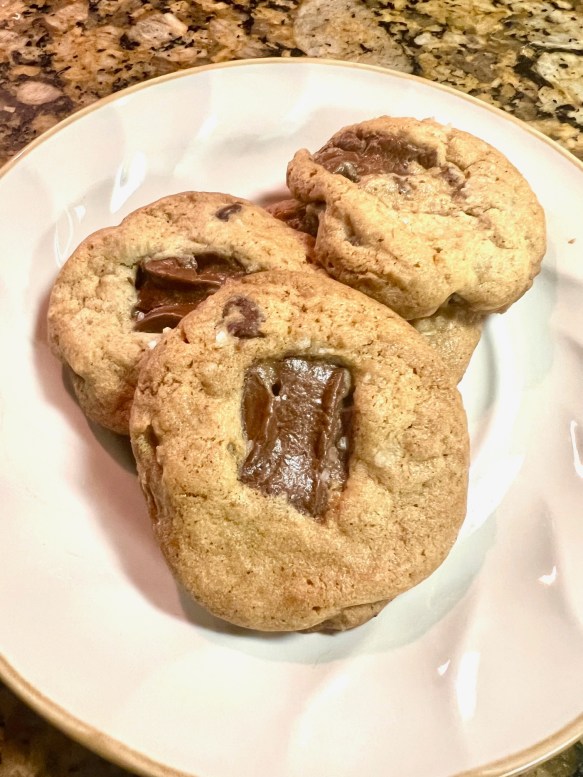
Cookie Bars Easily Transform into Tasty Cookies
While this recipe was originally developed as a cookie bar - some cross between cookie and brownie that makes for easy baking and a showstopping center piece - it is easily adapted into a quick and tasty cookie recipe.
This recipe size yields almost 3 dozen cookies (yup - 3 dozen!), making it perfect baking for holiday gatherings, or even wrapped up as gifts.
See the recipe notes for details on how to make Carmello Royale cookies.
The Best Holiday Cookie - Brown Butter Salted Caramel
What better gift to give then the gift of homemade cookies! These are no exception. Whether you serve it up in a tray at a holiday gathering as a delectable cookie bar, or give these Carmello Royales away as holiday gifts - everyone will be happy!
Try pairing these with one of our Thanksgiving Meal Plans, or serving them up at any holiday gathering alongside some Quick and Cheesy Jalapeno Cornbread muffins.
The options are endless. What’s not endless, unfortunately, are these cookies. They will be gone faster than you can say - Brown Butter Salted Caramel Cookie Bars!
Ingredients
- 1 cup unsalted butter
- 1/2 cup granulated sugar 100 grams
- 1 cup packed brown sugar 200 grams
- 1 large egg plus 1 egg yolk
- 2 teaspoons vanilla extract
- 2 ½ cups all-purpose flour 312 grams
- 1 teaspoon corn starch
- 1 teaspoon baking soda
- ½ teaspoon salt
- 2 tablespoons heavy cream
- 1½ cup semi-sweet mini chocolate chips
- small bag of Rolos
- flaky sea salt
Instructions
Brown the butter.
- In a small saucepan, add all of the butter. Over a medium-low heat, let the butter melt. Have a heat-safe pan ready. You can use the 8"x8" pan you'll be baking the cookies in.
- When browning butter, it's best to go slow and steady. Keep an eye on the butter and a whisk at hand. The butter will melt, then start to foam. When the foam starts, begin whisking intermittently. Allow to keep cooking.
- You should notice a nutty aroma and brown bits beginning to accumulate at the bottom of the pan. At this point whisk mostly continuously as the butter continues to brown. This keeps the browned curds moving and prevents burning. To see how your butter is doing watch the browned bits as you whisk through the foam. They should turn a dark hazelnut color. At this point, the butter is ready.
- Immediately turn off heat and pour butter into heat-safe pan. Use a spatula or bowl scraper to scrape out all of the brown bits out of the pan (that's all the good stuff). Place butter in refrigerator to let harden until ready to use. This should take at minimum a few hours, but it can be made up to three days in advance of mixing the cookie dough.
Mix the cookie dough.
- Prep a 10" round baking dish, or similarly sized square pan by greasing with butter.
- In a stand mixer fitted with the paddle attachment, or in a large bowl using a hand mixer, add the butter. Mix until the butter is broken down into smaller pieces.
- Add the granulated sugar and brown sugar. Mix well on high until the butter has lightened in color and become fluffy. You'll know it's done when it no longer has a grainy texture from the sugar. This should take between 5-7 minutes.
- Reduce the speed on your mixer. Slowly add the egg yolk, vanilla and heavy cream, making sure to mix well between additions.
- Reduce the speed again and add all your dry ingredients - flour, corn starch, baking soda and salt - slowly. Take time to scrape down the sides as you go to make sure everything is well incorporated. Stop mixing just as everything starts coming together.
- Add the chocolate chips. Mix briefly just to disperse the chocolate chips throughout the dough.
- Scrape all dough into the prepared baking dish. Disperse evenly by pressing down as needed.
- Place unwrapped Rolos on top as desired. Push in gently to the cookie dough to secure. Sprinkle lightly with flaky sea salt.
- Allow the dough to rest in the fridge for at least an hour for best results. If necessary, you can bake immediately.
Bake the cookie bar
- Bake at 350°F for 35-40 minutes. Remove from oven and let stand 5-10 minutes before cutting
- Cut into squares and serve! Ice cream optional, but recommended 🙂
Notes
- Make cookies as described in recipe. Instead of scooping into greased baking tin, use a medium sized cookie scoop (or two table spoons) to scoop the cookies on to a tray. Feel free to put them close together since they will be going into the fridge before baking (optional but recommended).
- Cut rolos in half. Gently press one half rolo (cut side down) into the top of each cookie.
- Sprinkle cookies with flaky salt before putting in the fridge.
- Let the cookies rest in the fridge for at least an hour before baking. This is a great time to clean up, warm up the oven and take a break! 🙂
- Preheat the oven to 350 degrees. Place cookies on baking sheets with parchment paper or silicone baking mats with space between them, as the cookies will spread out during baking.
- Bake for 12 minutes. Let rest for 5-10 minutes before enjoying!
- For a more chocolate-heavy cookie bar, mix in an extra ½ cup mini dark chocolate chips.
